
Ring Cushion Progress
Just a quick post today to keep readers in the loop as far as the wedding ring cushion project is coming along. The first photo shows where I got to last update plus the pink flowers completed, including the green sepal details.
This second shot is my desk when I was matching up the orange shade needed just a short while ago. I never really felt happy with the first orange I selected, so I got out the colour chart and the bag with almost all the orange shades in and picked out a new one instead.

Here are the 'spikey' leaves, complete with orange sections (I nearly wrote 'segments', but I think that was a bit out of context here!!). I'm much happier with this second choice of orange, which is less red and more brown than the first one, but still every bit as bright and striking. For anyone who uses Anchor threads, my first choice was 332, but the one I finally used was 326.

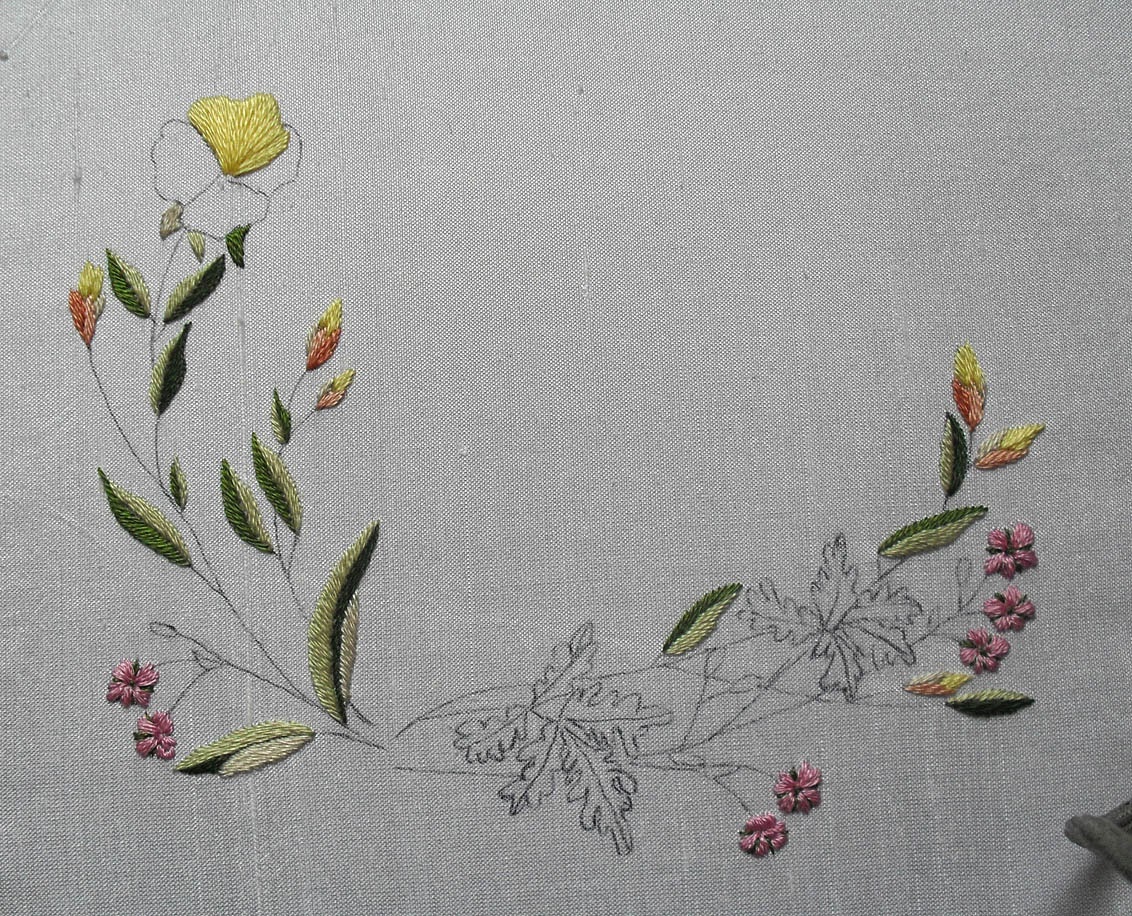
Here is how I left it just 15 minutes or so ago. As you can see, all the main elements except three of the four evening primrose petals have been put in. Although I would normally do the stems first, I'm glad I didn't this time as the stitching has strayed over where some of the stems would otherwise have been and there are a few different colours needed for stems, many of which are leading out from central leaf veins (light grey-brown for the evening primrose leaves and orange for the herb robert ones), so I thought it would be easier to do all that together.

Next step is to complete the evening primrose petals and I don't mind admitting that I feel less than totally confident about that. I've realised why my outer petal edges have often been uneven and it's because I've been giving so much attention to the directional element by adding intermediate guideline stitches, that the edges ended up suffering. I managed to work this first petal quite satisfactorily, but I'm rather concerned about the right hand one which goes behind the first one and needs a great deal of directional work. Still, if I fluff it, I can try again, right?
Then I need to figure out a good flower centre, put in all the stems and leaf veins, add the tiny beads and rustle up some kind of butterfly for the top left. Five days to go and five just lost thanks to a virus that makes me weak and constantly feeling that I'm falling over forwards and just won't clear. Still, it can, indeed MUST, be done in time, so I'm not giving up yet!=)
Text and images © Elizabeth Braun 2014


7 comments:
Adoro il tuo ricamo.
È così prezioso.
Sei bravissima.
Complimenti per il tuo talento.
Ciao Giovanna
It is going well. Take it slowly and gently, think about the worrying bit before you stitch it!
This is beautiful - what a treasure!
Magnifique avancé bravo boonsoiree Marie-Claire
It's looking great so far, the orange in your oak leaves gives the whole design a bit of a zing,, lovely.
ukcitycrafter@live.co.uk
How exquisite. I have a question...is the yellow flower on top done in long and short stitch or is it satin stitch. Most probably the former because you wouldn't have been able to get the curved contour on the petal, right?
I love this so much.
Fond regards from India,
Natasha
Hi Natasha! Thank you for your kind compliments!:)
The yellow flower is worked in radial satin stitch. That means that it is basically satin stitch, but in order to be able to make the arc of stitches sit nicely (and flat), a shorter stitch is used to help 'turn the corners'.
Hope that helps!
Post a Comment